A friend of mine created a beautiful custom paint job on a pair of cabinets, and wanted a photo of her work. Unfortunately, the cabinets are in a narrow hallway and can’t be moved. Here’s how I obtained about 12 feet of depth of field in Photoshop.
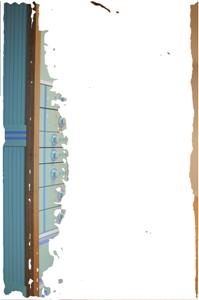
Shot 1 – focused on nearest corner; note blurriness of far cabinet:
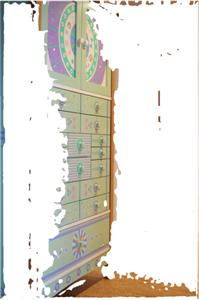
Shot 2 – focused on farthest corner; note blurriness of near cabinet:
Shot 3 – composite result of four images (the two shots above, plus two more focused on near middle and far middle); note that everything is now in focus:
Needless to say (I hope), the four shots are taken on a tripod and the camera is not moved even a millimeter between shots. In more extreme situations, more than four shots might be needed. The Photoshop technique is fairly simple.
1. First, load all the images into Photoshop as separate layers.
You can do this by opening all images separately and then dragging them into one, which creates the new layers. Or you can use the script for “loading files into a stack” and select the images from the script dialog. The goal is the same: one new file with a different depth of field image on each layer. You can use two or twenty layers, although usually 2-4 are enough.
2. The second step is to align the layers so they stack on top of each other perfectly.
This can be done manually, but it’s a lot of work. Photoshop’s “auto-align layers” command in the Edit menu will line up the multiple shots automatically. Select all the layers first, and in the Auto-Align Layers dialog box, select “Reposition” as your desired “Projection” or the images will be distorted.
3. The third step is to let Photoshop blend the layers together—this is where the magic is done.
The Edit > Auto-Blend Layers command will find the sharpest portions of each image and mask out the less sharp areas on each layer. This is rather wonderful to behold, and to do it manually would be a long and tedious task. In the dialog box, choose “Stack Images” and “Seamless Tones and Colors.”
In my example, I used four photos at different focus distances. Here’s what Photoshop actually did to “blend” the sharpest portions of each layer together — it created a layer mask for each layer so only the focused parts show through. White is transparent; black is opaque. You can see how each layer contributes only a vertical strip of what’s in focus:
This is the near focus masked image:
This is the near-middle focus:
Far-middle focus:
Far focus:
Pretty slick, eh? The final step is simply to generate some output. You can go straight to JPG by simply doing a Save As…, or Save for Web… from the File menu. Or you can flatten the image in the Layer panel and then save as a JPG, if you don’t want to keep the Photoshop file.
There’s a little lens distortion in this particular setup, and I was tempted to remove it before aligning the layers. But Photoshop does such a subtle thing with the focus detection that it’s safer to build the composite result, flatten it, and then apply whatever lens corrections may be needed.
I’ve been a photographer since the early 1950’s when my father gave me his World War II model Leica. I grew up in a house whose previous owner had been a pioneering time-lapse photographer in the early 20th century, and he left behind a magnificent wood-paneled darkroom, complete with built-in safelights and a full complement of elegantly etched glass beakers and glassware. But now I use RAM as my film and Photoshop as my darkroom, and although the old chemistry-based silver emulsion technology was indeed quite marvelous, I’m very glad to move on. My hands aren’t stained and I don’t stink of acetic acid. At least I don’t think I do . . .


Being in that narrow hallway made a great example of this clever (and well-hidden) capability of Photoshop. The cabinets themselves are stupendous!
Thanks for sending this to me. I haven’t looked at those cabinets for over 10 years. It was rewarding to see them again and appreciate their quality. That of course was made possible because of your excellent photography and manipulation of Photoshop.